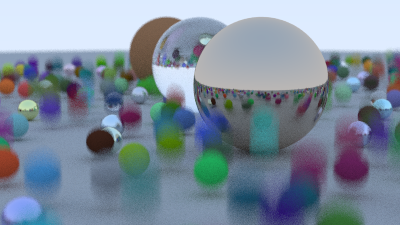
Motion Blur
思路是给Ray定义一个时间,表示光线的行进时间,判断光线与模型求交时,先用Ray的持续时间来计算模型在当前时间的位置,在新的位置上计算求交,因为发送的射线的时间是随机设置的,所有他们与球求交的是空间上不一致的,所以移动的物体就会出现模糊,本质也就是渲染时,不同像素收集到的是不同时间段的模型颜色,真实相机拍摄运动物体时,快门从打开到关闭的这段时间(比如 1/100 秒)内,物体一直在移动,传感器会记录下这段时间内物体在不同位置的所有光线信息,所以这种近似属于Hack
Bounding Volume Hierarchies
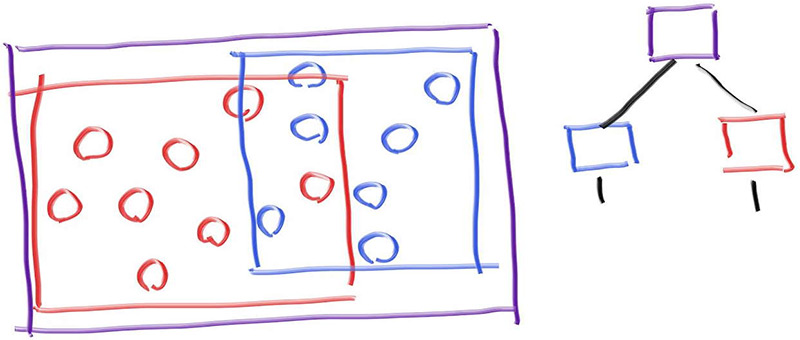
BVH_node 可以继承 : public hittable,与 sphere 的继承一样。 相机遍历hittable_list时,会执行BVH_node本身的hit函数,函数内就有树形检索逻辑,加快击中判定
构建BVH的流程,是一个递归函数,用start和end表示要处理的objects范围,递归时,设置为原来的一半作为子节点
 1
 2
 3
 4
 5
 6
 7
 8
 9
10
11
12
13
14
15
16
17
18
19
20
21
22
23
24
25
26
27
|
bvh_node(std::vector<shared_ptr<hittable>>& objects, size_t start, size_t end) {
    // 随机选择一个轴方向
    int axis = random_int(0,2);
    // 排序器
    auto comparator = (axis == 0) ? box_x_compare
                    : (axis == 1) ? box_y_compare
                                  : box_z_compare;

    size_t object_span = end - start;

    if (object_span == 1) { // 只有一个物体
        left = right = objects[start];
    } else if (object_span == 2) { // 有两个物体
        left = objects[start];
        right = objects[start+1];
    } else {
        // 在某个轴方向对objects进行排序
        std::sort(std::begin(objects) + start, std::begin(objects) + end, comparator);
        // 划分为两半
        auto mid = start + object_span/2;
        // 递归构建子节点
        left = make_shared<bvh_node>(objects, start, mid);
        right = make_shared<bvh_node>(objects, mid, end);
    }
	// 更新包围盒
    bbox = aabb(left->bounding_box(), right->bounding_box());
}
|
进一步优化,每次都选择最长的轴方向进行划分,因为物体在最长轴上的离散度最高,这样划分包围盒的重叠最少
 1
 2
 3
 4
 5
 6
 7
 8
 9
10
11
12
13
14
15
16
17
18
19
20
21
22
23
24
25
26
27
28
29
30
31
|
bvh_node(std::vector<shared_ptr<hittable>>& objects, size_t start, size_t end) {
        // Build the bounding box of the span of source objects.
        bbox = aabb::empty;
        for (size_t object_index=start; object_index < end; object_index++)
            bbox = aabb(bbox, objects[object_index]->bounding_box());

        int axis = bbox.longest_axis();
        // 排序器
        auto comparator = (axis == 0) ? box_x_compare
                        : (axis == 1) ? box_y_compare
                                      : box_z_compare;

        size_t object_span = end - start;

        if (object_span == 1) { // 只有一个物体
            left = right = objects[start];
        } else if (object_span == 2) { // 有两个物体
            left = objects[start];
            right = objects[start+1];
        } else {
            // 在某个轴方向对objects进行排序
            std::sort(std::begin(objects) + start, std::begin(objects) + end, comparator);
            // 划分为两半
            auto mid = start + object_span/2;
            // 递归构建子节点
            left = make_shared<bvh_node>(objects, start, mid);
            right = make_shared<bvh_node>(objects, mid, end);
        }

        bbox = aabb(left->bounding_box(), right->bounding_box());
    }
|
纹理
生成球的UV
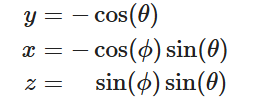
做法是3D坐标转为球面坐标,再转为UV坐标
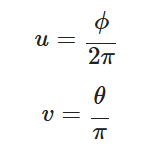
3D坐标与球面坐标的转换

四边形
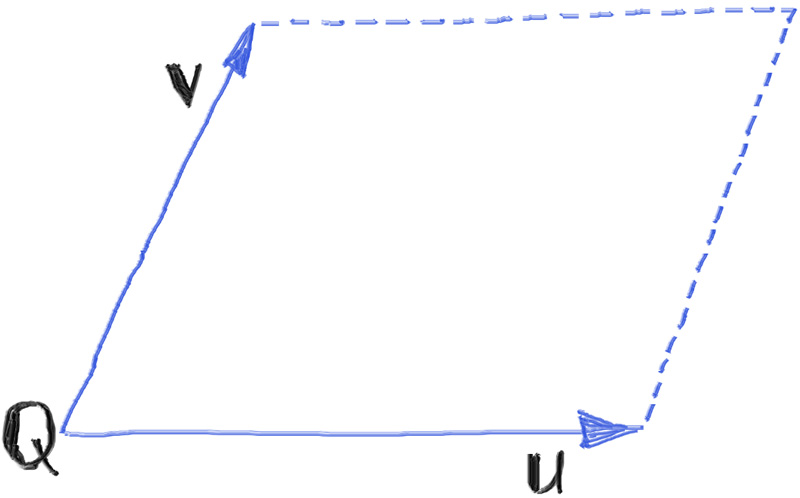
一个点Q+两个方向UV来定义一个四边形
求交运算
- 找到四边形对应的平面
- 光线与平面相交
- 确定交点在四边形内
四边形所在平面方程
定义平面:

法向量:
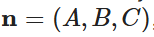
已知平面的法向量n,另外四边形的uv向量与法线n垂直(也就是说说u*v(叉乘)后的方向就是法线方向,这样就求出了ABC)

进一步,点Q落在平面上(已经知道ABC就是法向量的xyz,这样就可以通过带入法线和Q求解D,就求解了平面的方程)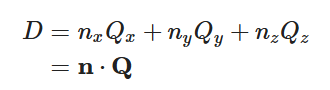
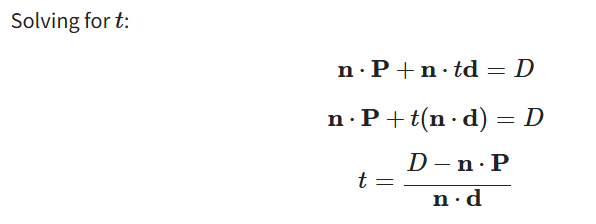
光线与平面求交
点位置 可以表示为光线P+td
求解D时,是用法线和点位置求解的,上一步已经求出D是多少了。现在反过来就可以求t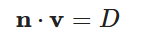
现在点位置用Ray表示后,求解D的方程表示为:
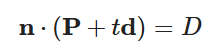
求解t得到光线相交于平面的时间
判定点是否在四边形内部
判断前需要在2D平面有一个基准坐标系,来表达任何点在平面上的位置
直接用Q点表示原点,UV向量来表示坐标系(不平行即可)
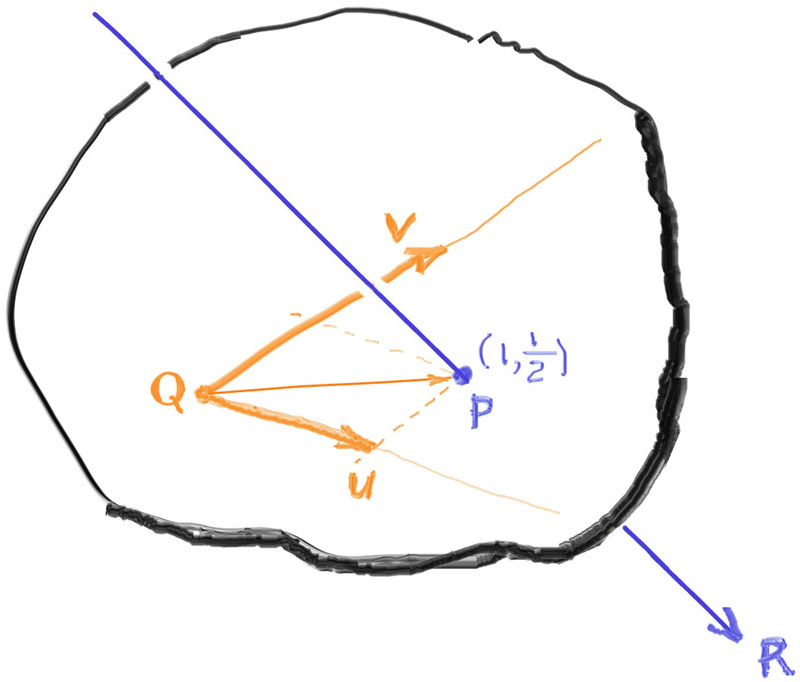
此时平面上任意一点可以表达为($\alpha,\beta$)
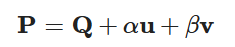
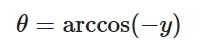
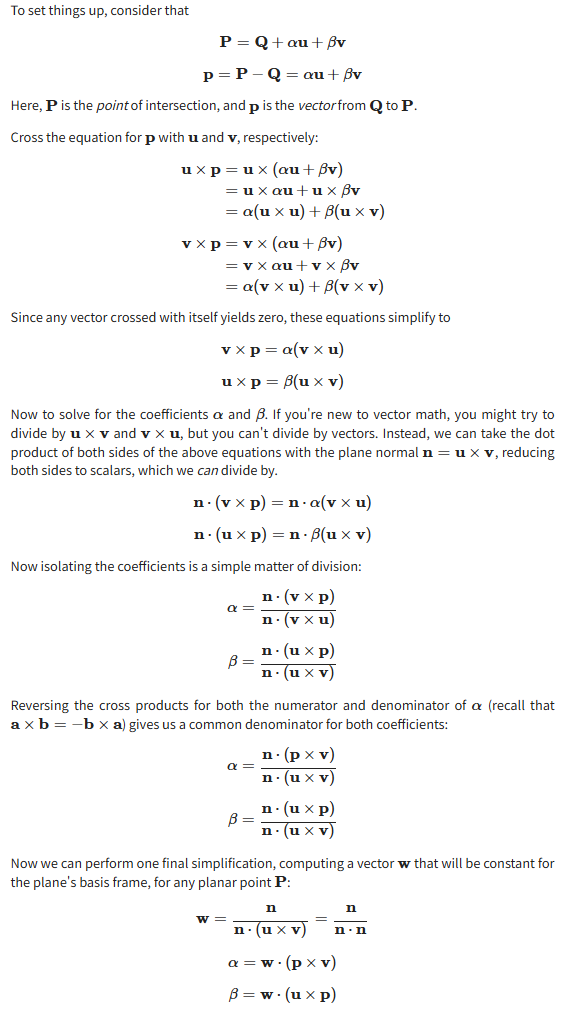
突然用公式求解出($\alpha,\beta$)的值
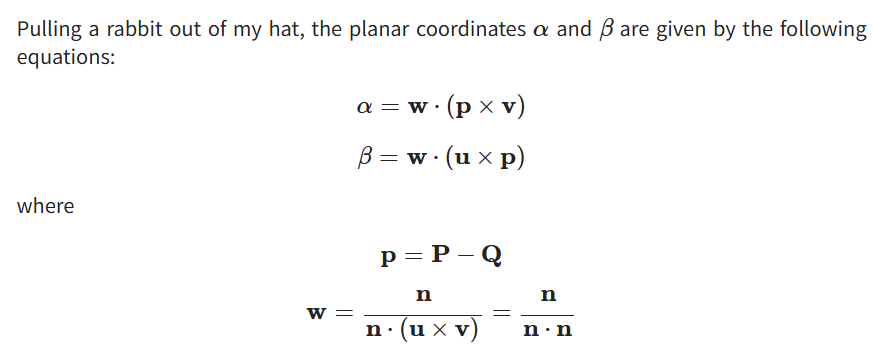
推导流程
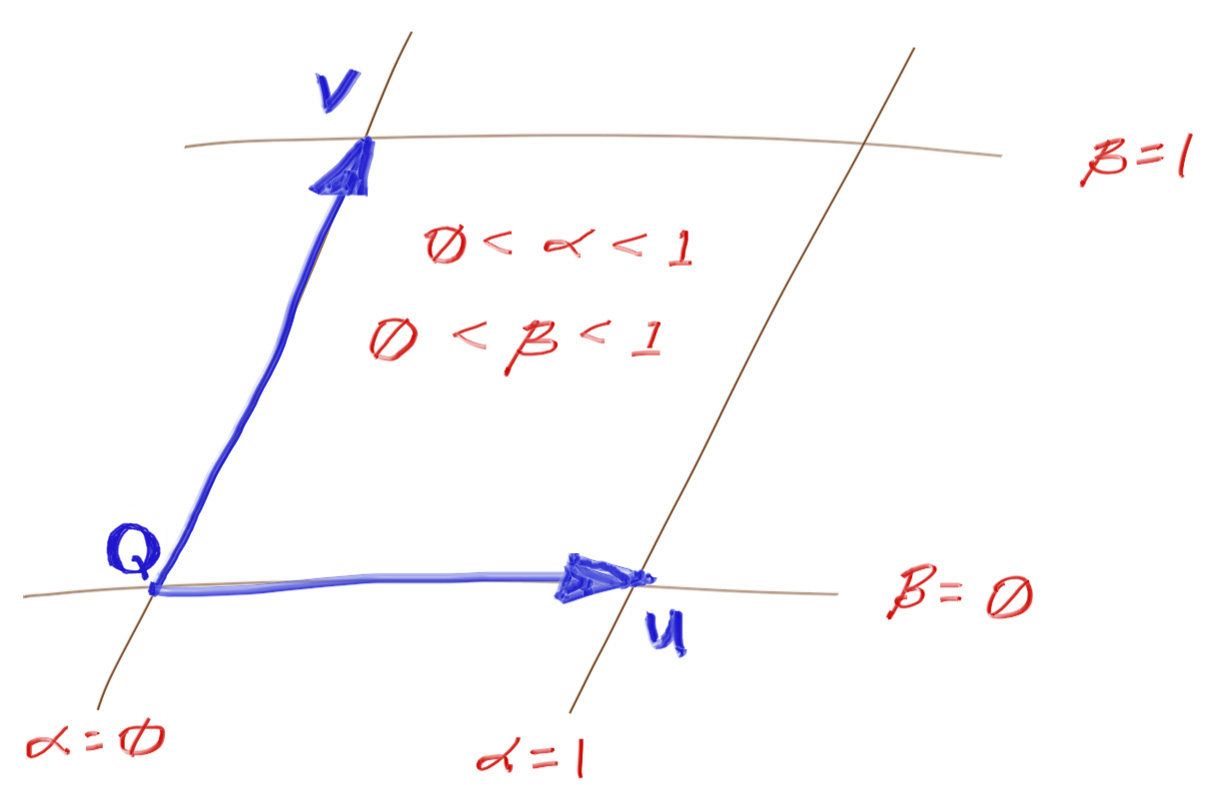
求解出$(\alpha,\beta)$后,按下图判断点是否在四边形内部
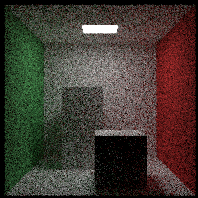
发光材质
给材质一个发光函数,根据击中的位置,返回一个发光颜色。
 1
 2
 3
 4
 5
 6
 7
 8
 9
10
11
|
class material {
  public:
    virtual ~material() = default;
    virtual color emitted(double u, double v, const point3& p) const {
        return color(0,0,0);
    }

    virtual bool scatter(const ray& r_in, const hit_record& rec, color& attenuation, ray& scattered) const {
        return false;
    }
};
|
击中物体计算颜色时,首先进行自发光判断,再进行scatter递归
 1
 2
 3
 4
 5
 6
 7
 8
 9
10
11
12
13
14
15
16
|
color ray_color(const ray& r, int depth, const hittable& world) const {
    // If we've exceeded the ray bounce limit, no more light is gathered.
    if (depth <= 0)
        return color(0,0,0);
    hit_record rec;
    // If the ray hits nothing, return the background color.
    if (!world.hit(r, interval(0.001, infinity), rec))
        return background;
    ray scattered;
    color attenuation;
    color color_from_emission = rec.mat->emitted(rec.u, rec.v, rec.p);
    if (!rec.mat->scatter(r, rec, attenuation, scattered))
        return color_from_emission;
    color color_from_scatter = attenuation * ray_color(scattered, depth-1, world);
    return color_from_emission + color_from_scatter;
}
|
平移和旋转
这里介绍的平移旋转并不是对模型进行平移旋转,而是模拟光线与平移后的模型击中来计算着色,也就是说移动光线,达到平移物品的目的
平移变换 (Translation)
平移是最简单的变换。
旋转变换 (Rotation)
旋转比平移复杂,因为它涉及到三角函数,并且还需要变换光线的方向向量和表面法向量。
-
目标:我们想让一个物体绕 Y 轴旋转 θ 角。
-
方法
:
-
变换光线:在判断光线 r 是否与旋转后的物体相交时,我们先将光线的原点和方向都进行 反向旋转 -θ(即顺时针旋转 θ)。
-
求交:用这条变换后的光线与原始朝向的物体进行相交测试。
-
逆变换交点和法向量
:
- 如果相交,得到的交点
p 和法向量 normal 是在物体的局部空间中的。
- 我们需要将它们正向旋转
θ(逆时针旋转 θ),变换回世界空间,作为最终的结果。
